Tim-Doerzbacher.comTim-Doerzbacher.com

CATPOO 2021 — NEMA-17 to the Rescue

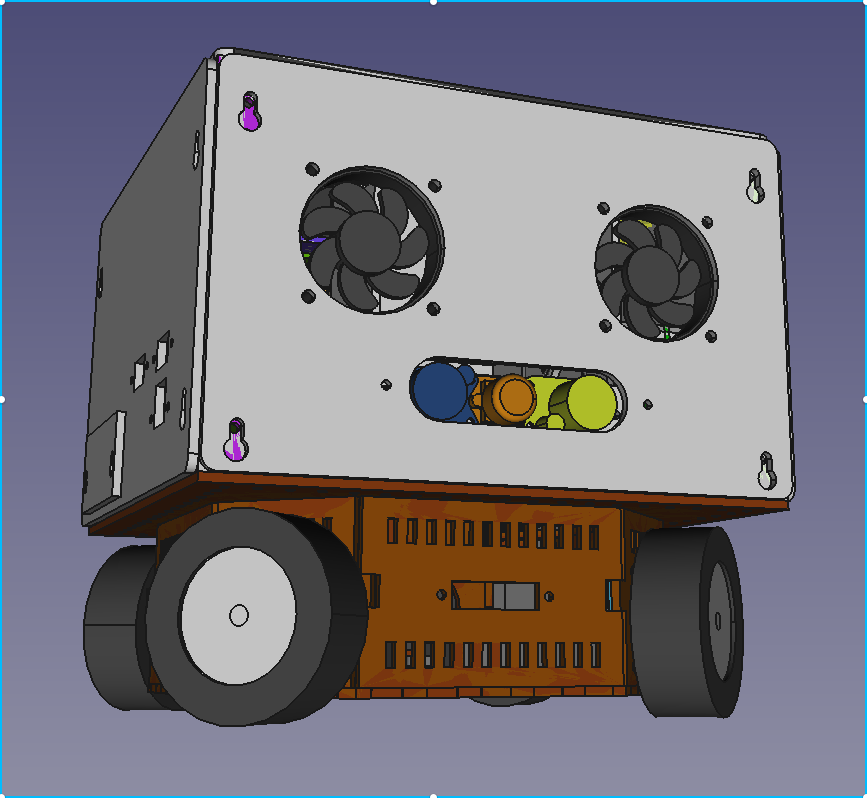
It took a couple weeks, but got a whole new design. Hit pretty much all the targets I mentioned in the previous post.

Only issue that I ran into so far is that the audio isn’t working, which sucks as that’s all on the bottom layer. The audio, range finders, and motors are all in a tangled mess in the least accessible area of the robot. Fortunately, fixing this gives me a great opportunity to do a proper tear down, showing off the design of the robot.

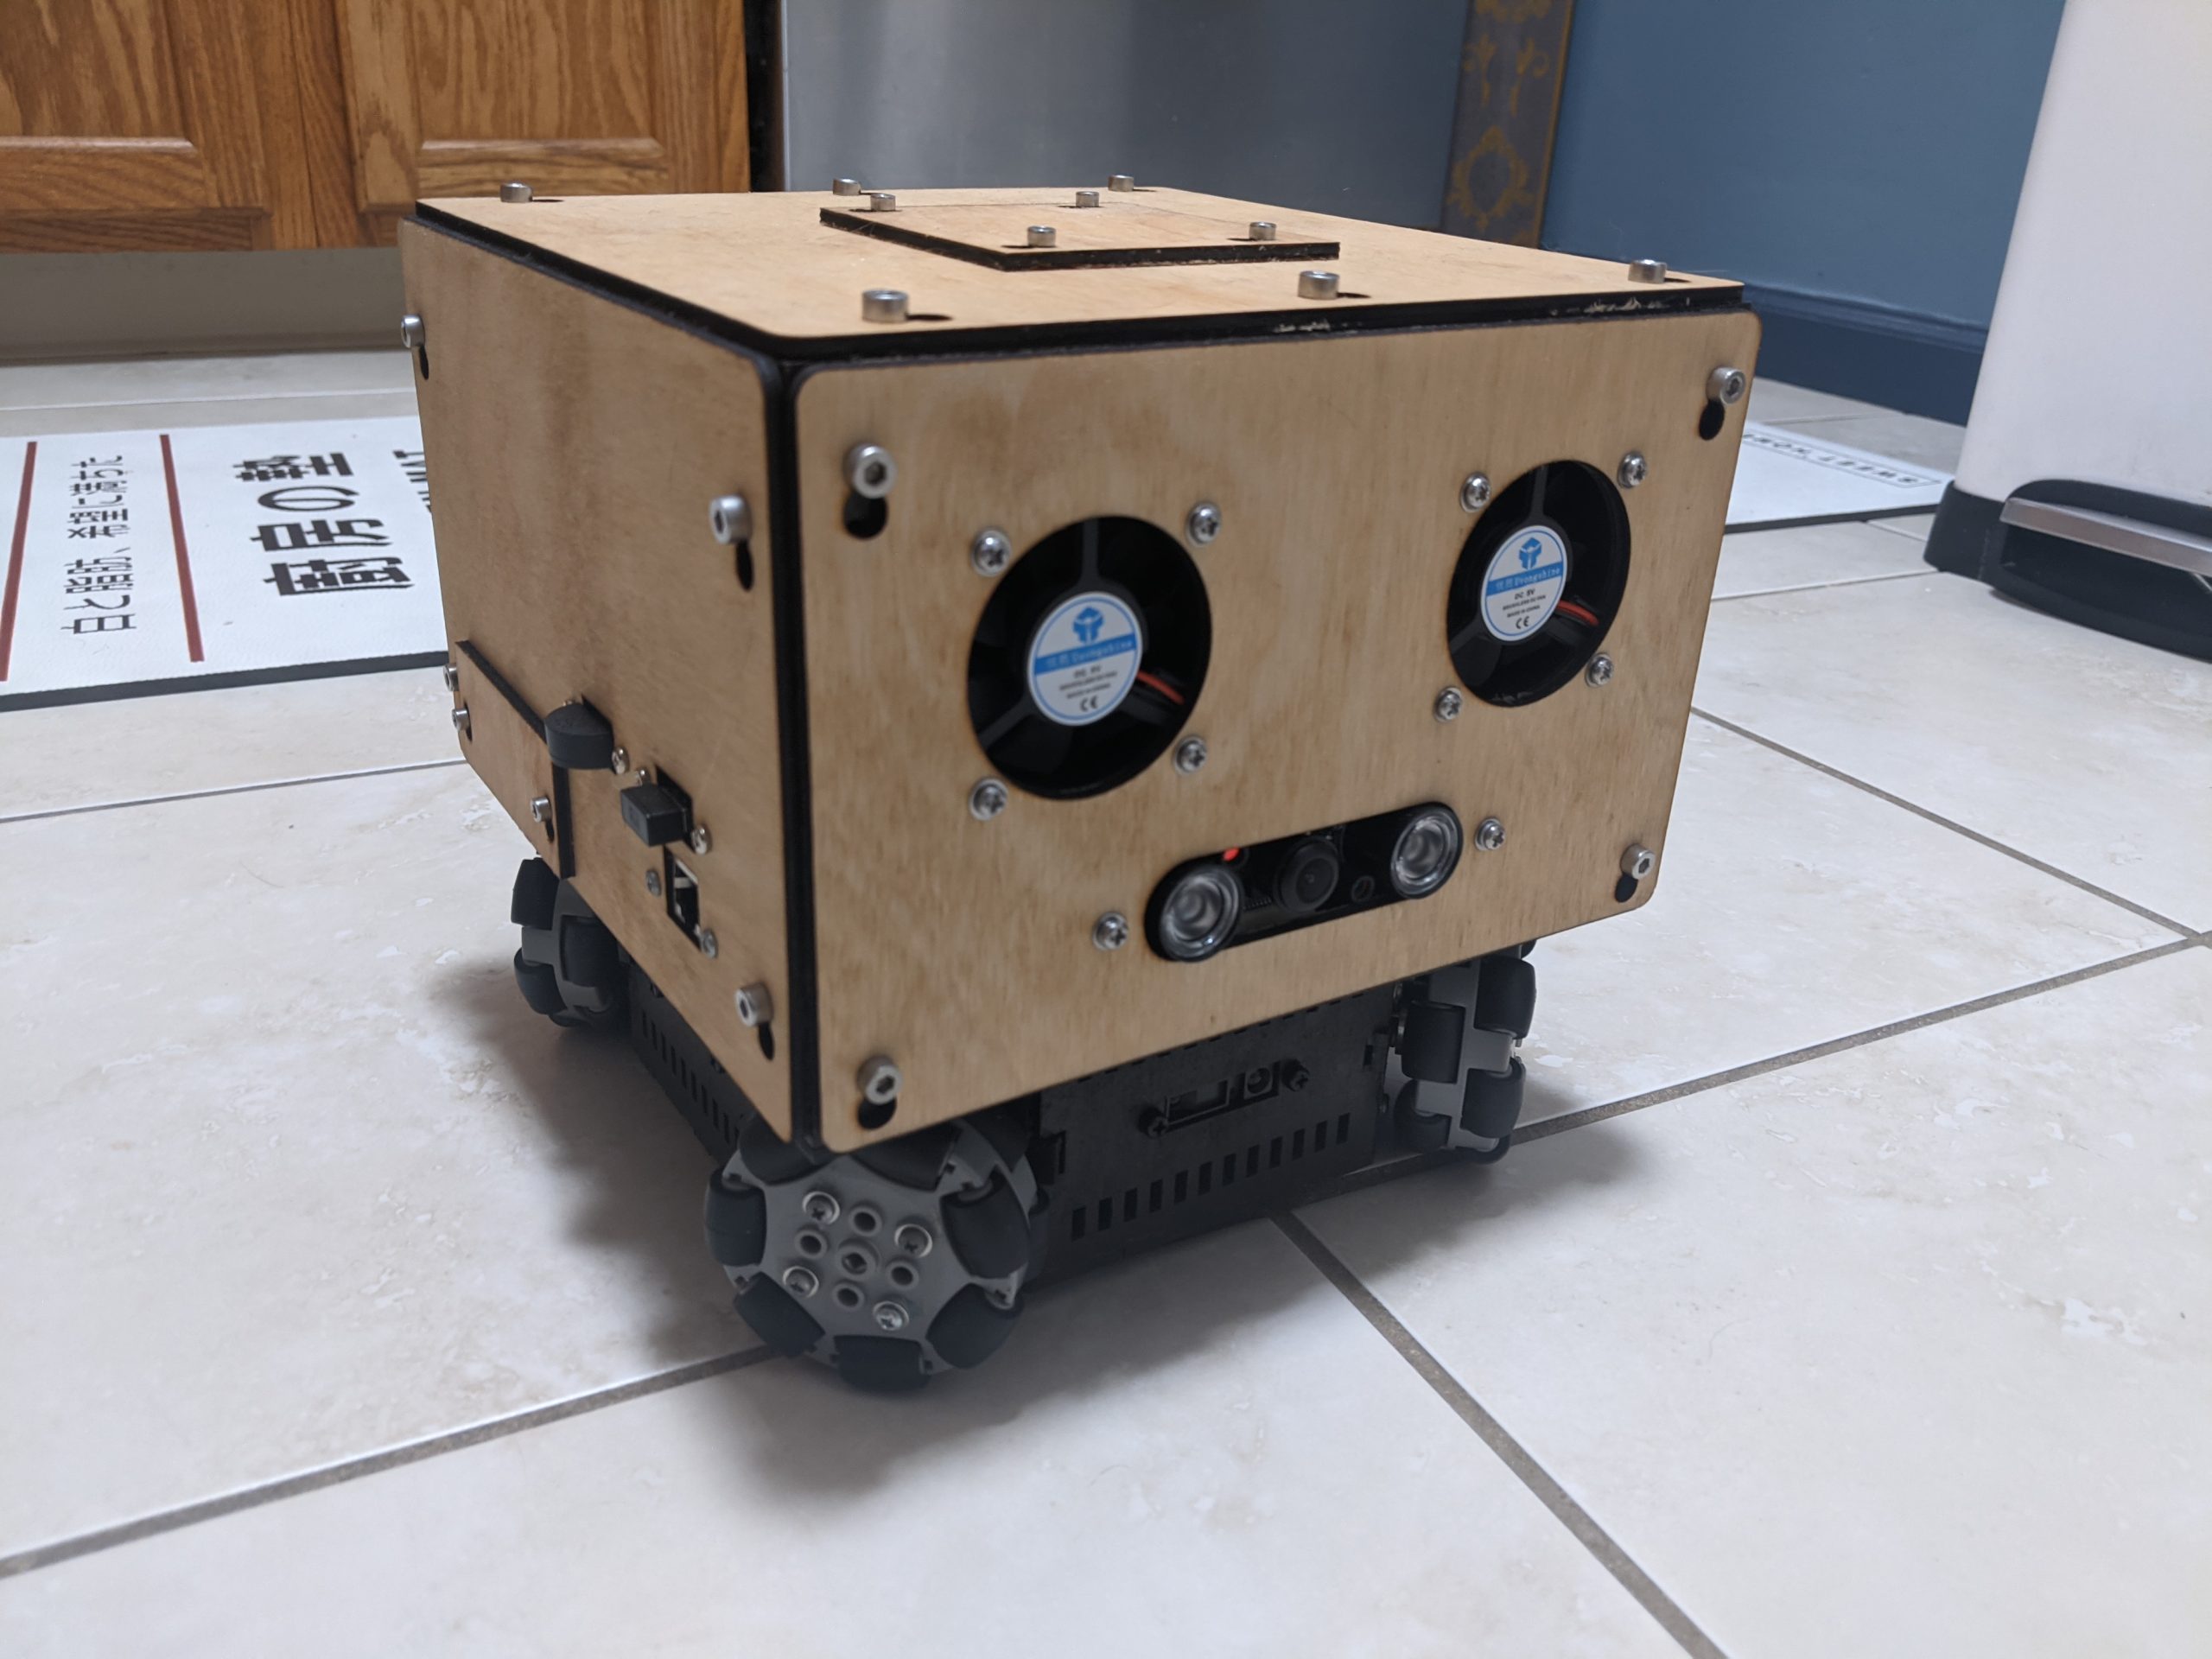
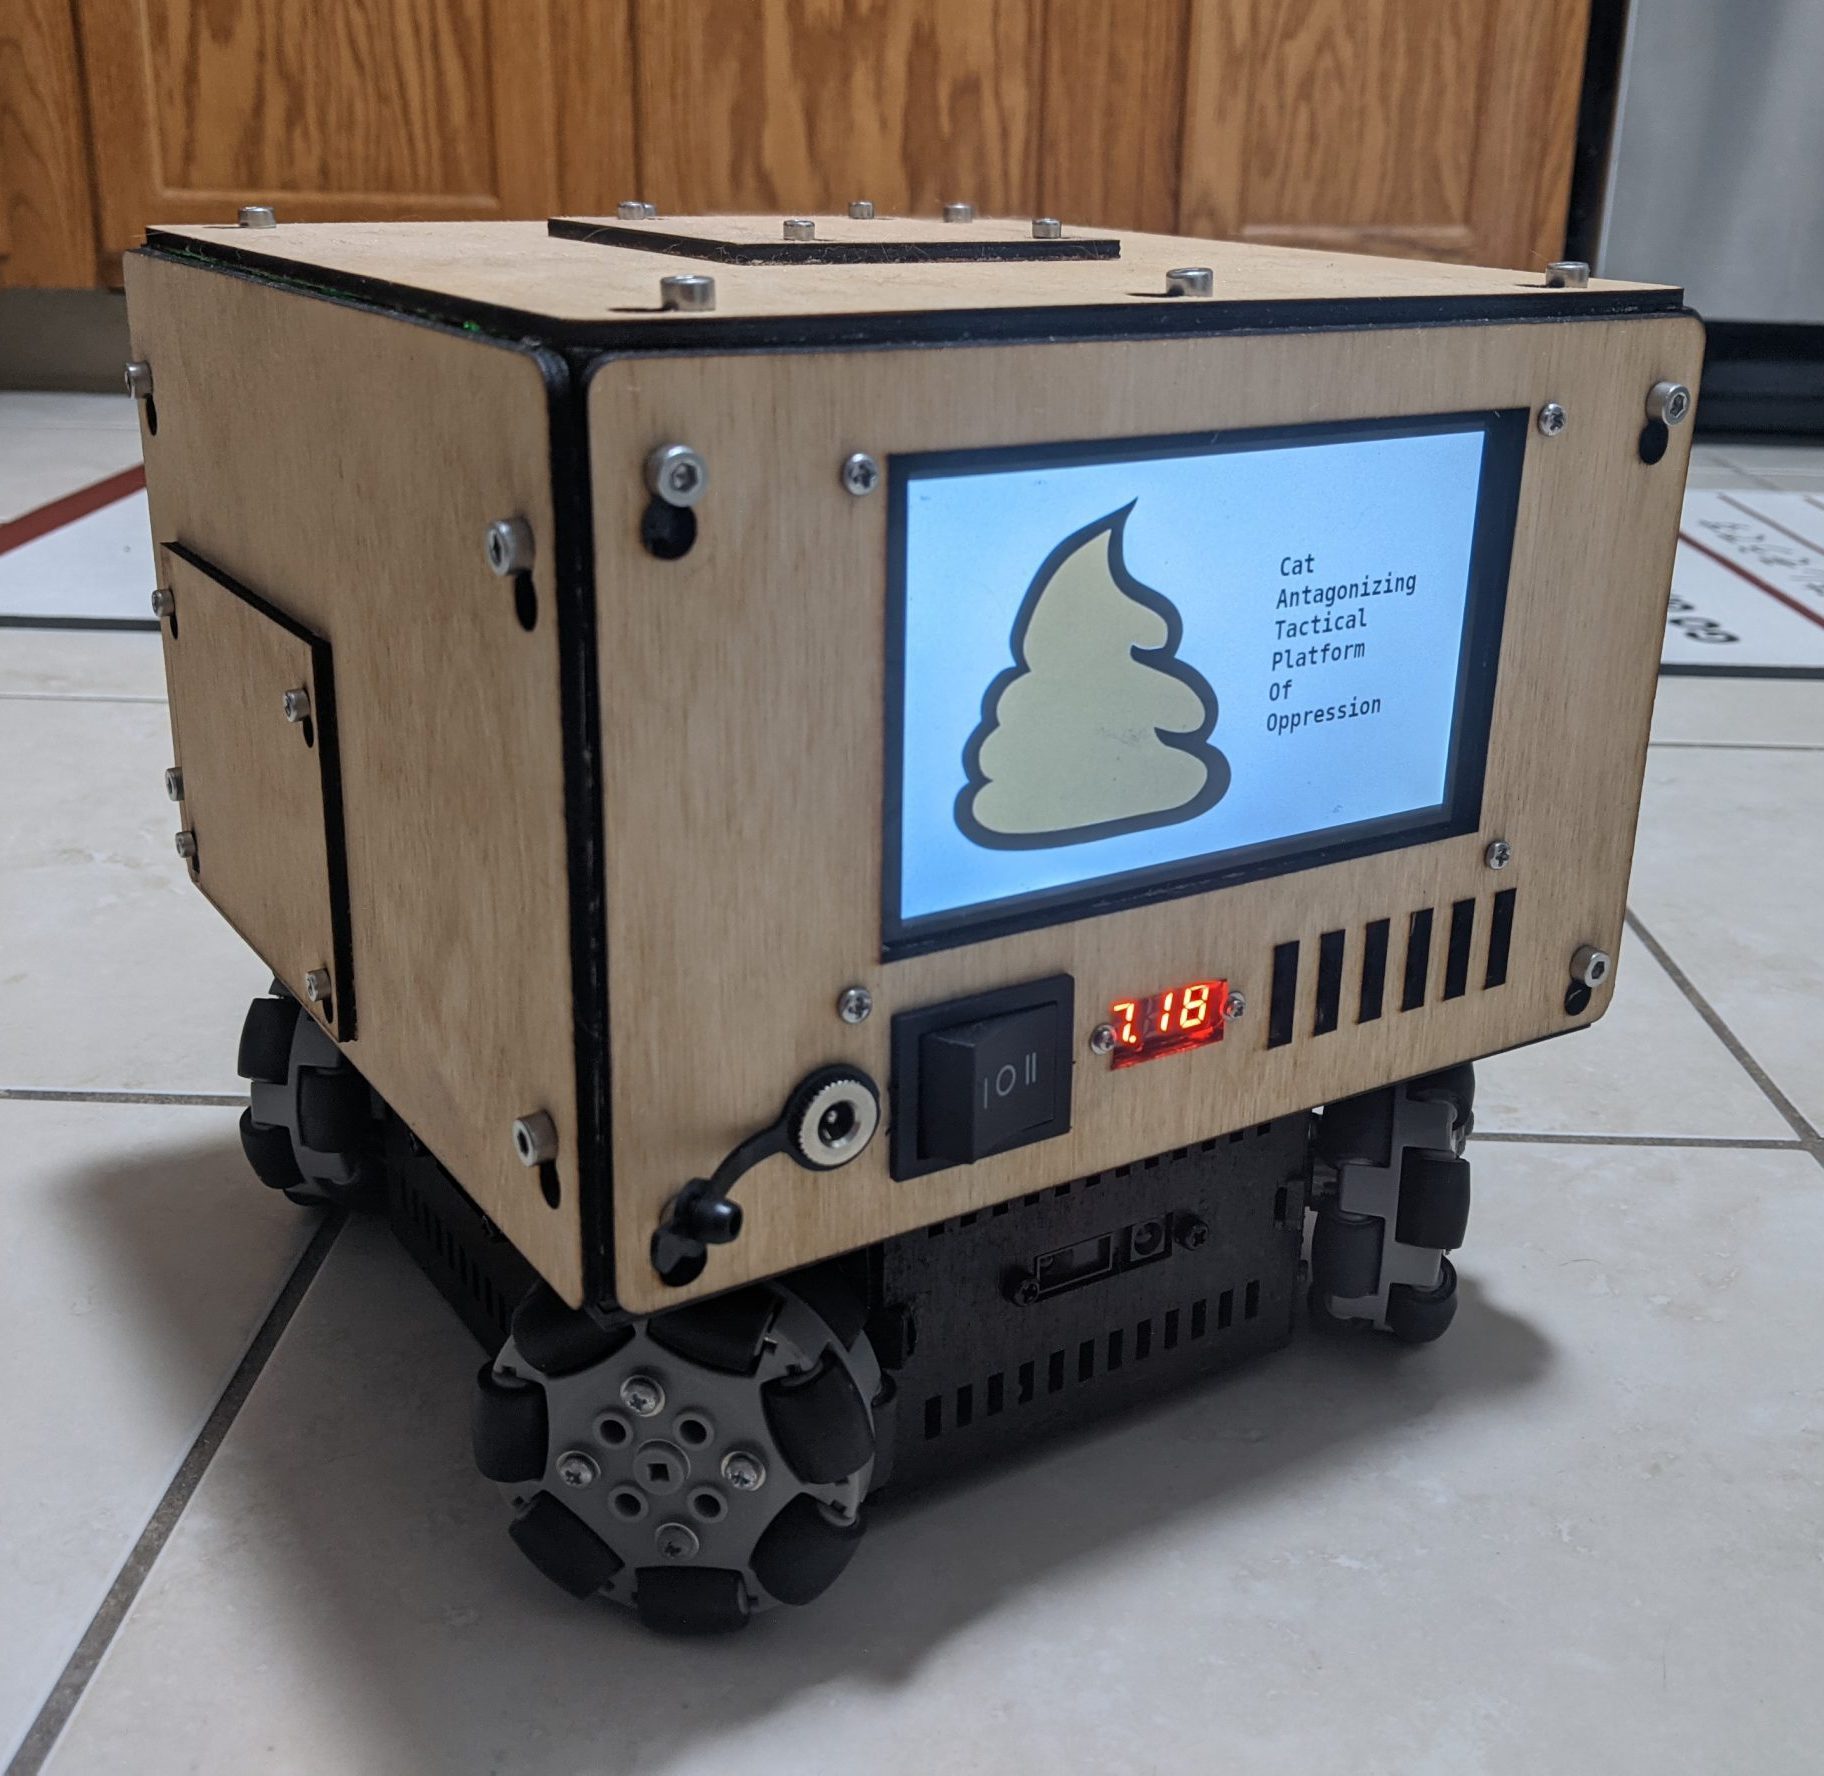
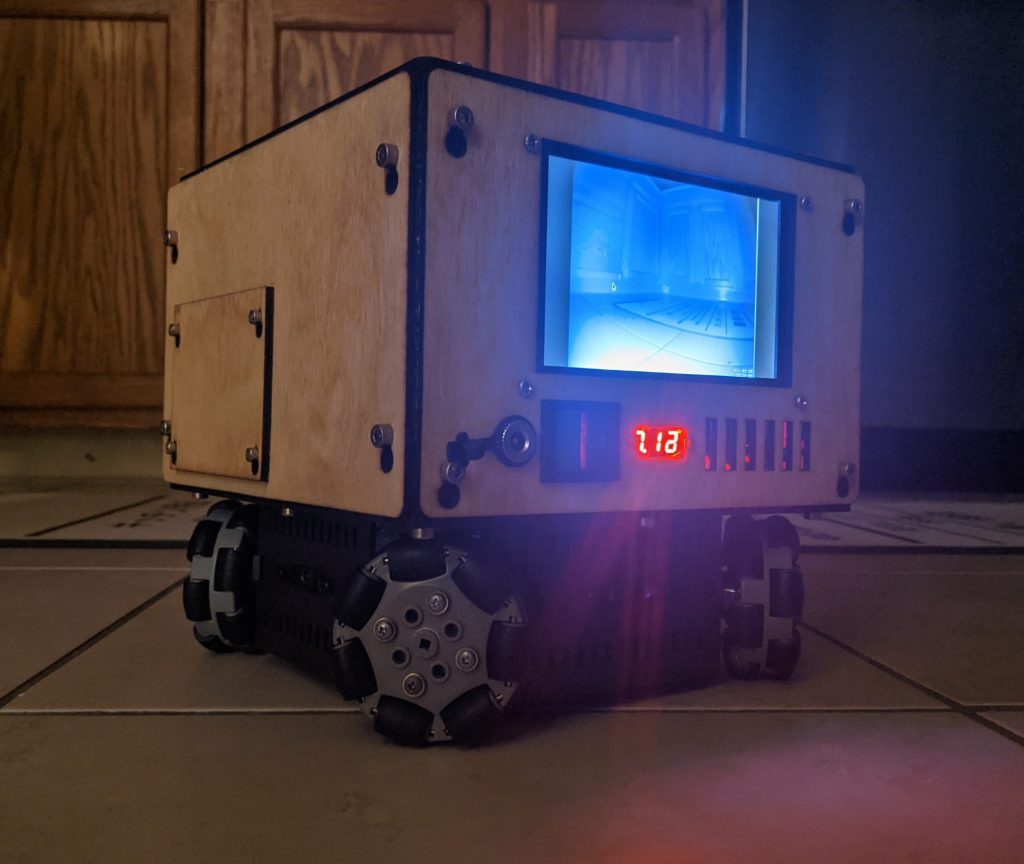
Currently, everything else seems to be working. I2C sees the accelerometer, gyroscope,and range finder ADC. The stepper drivers are able to lock the wheels, and make them turn. The new night vision camera’s wider FOV (130°) really helps, but I’d have preferred something closer to 160°-170°. Unfortunately, I can’t find anything in that range so this will do for now.

After the speaker repairs, it’s time to do the fun part: low level control of the motors and sensors exposed by a REST API.

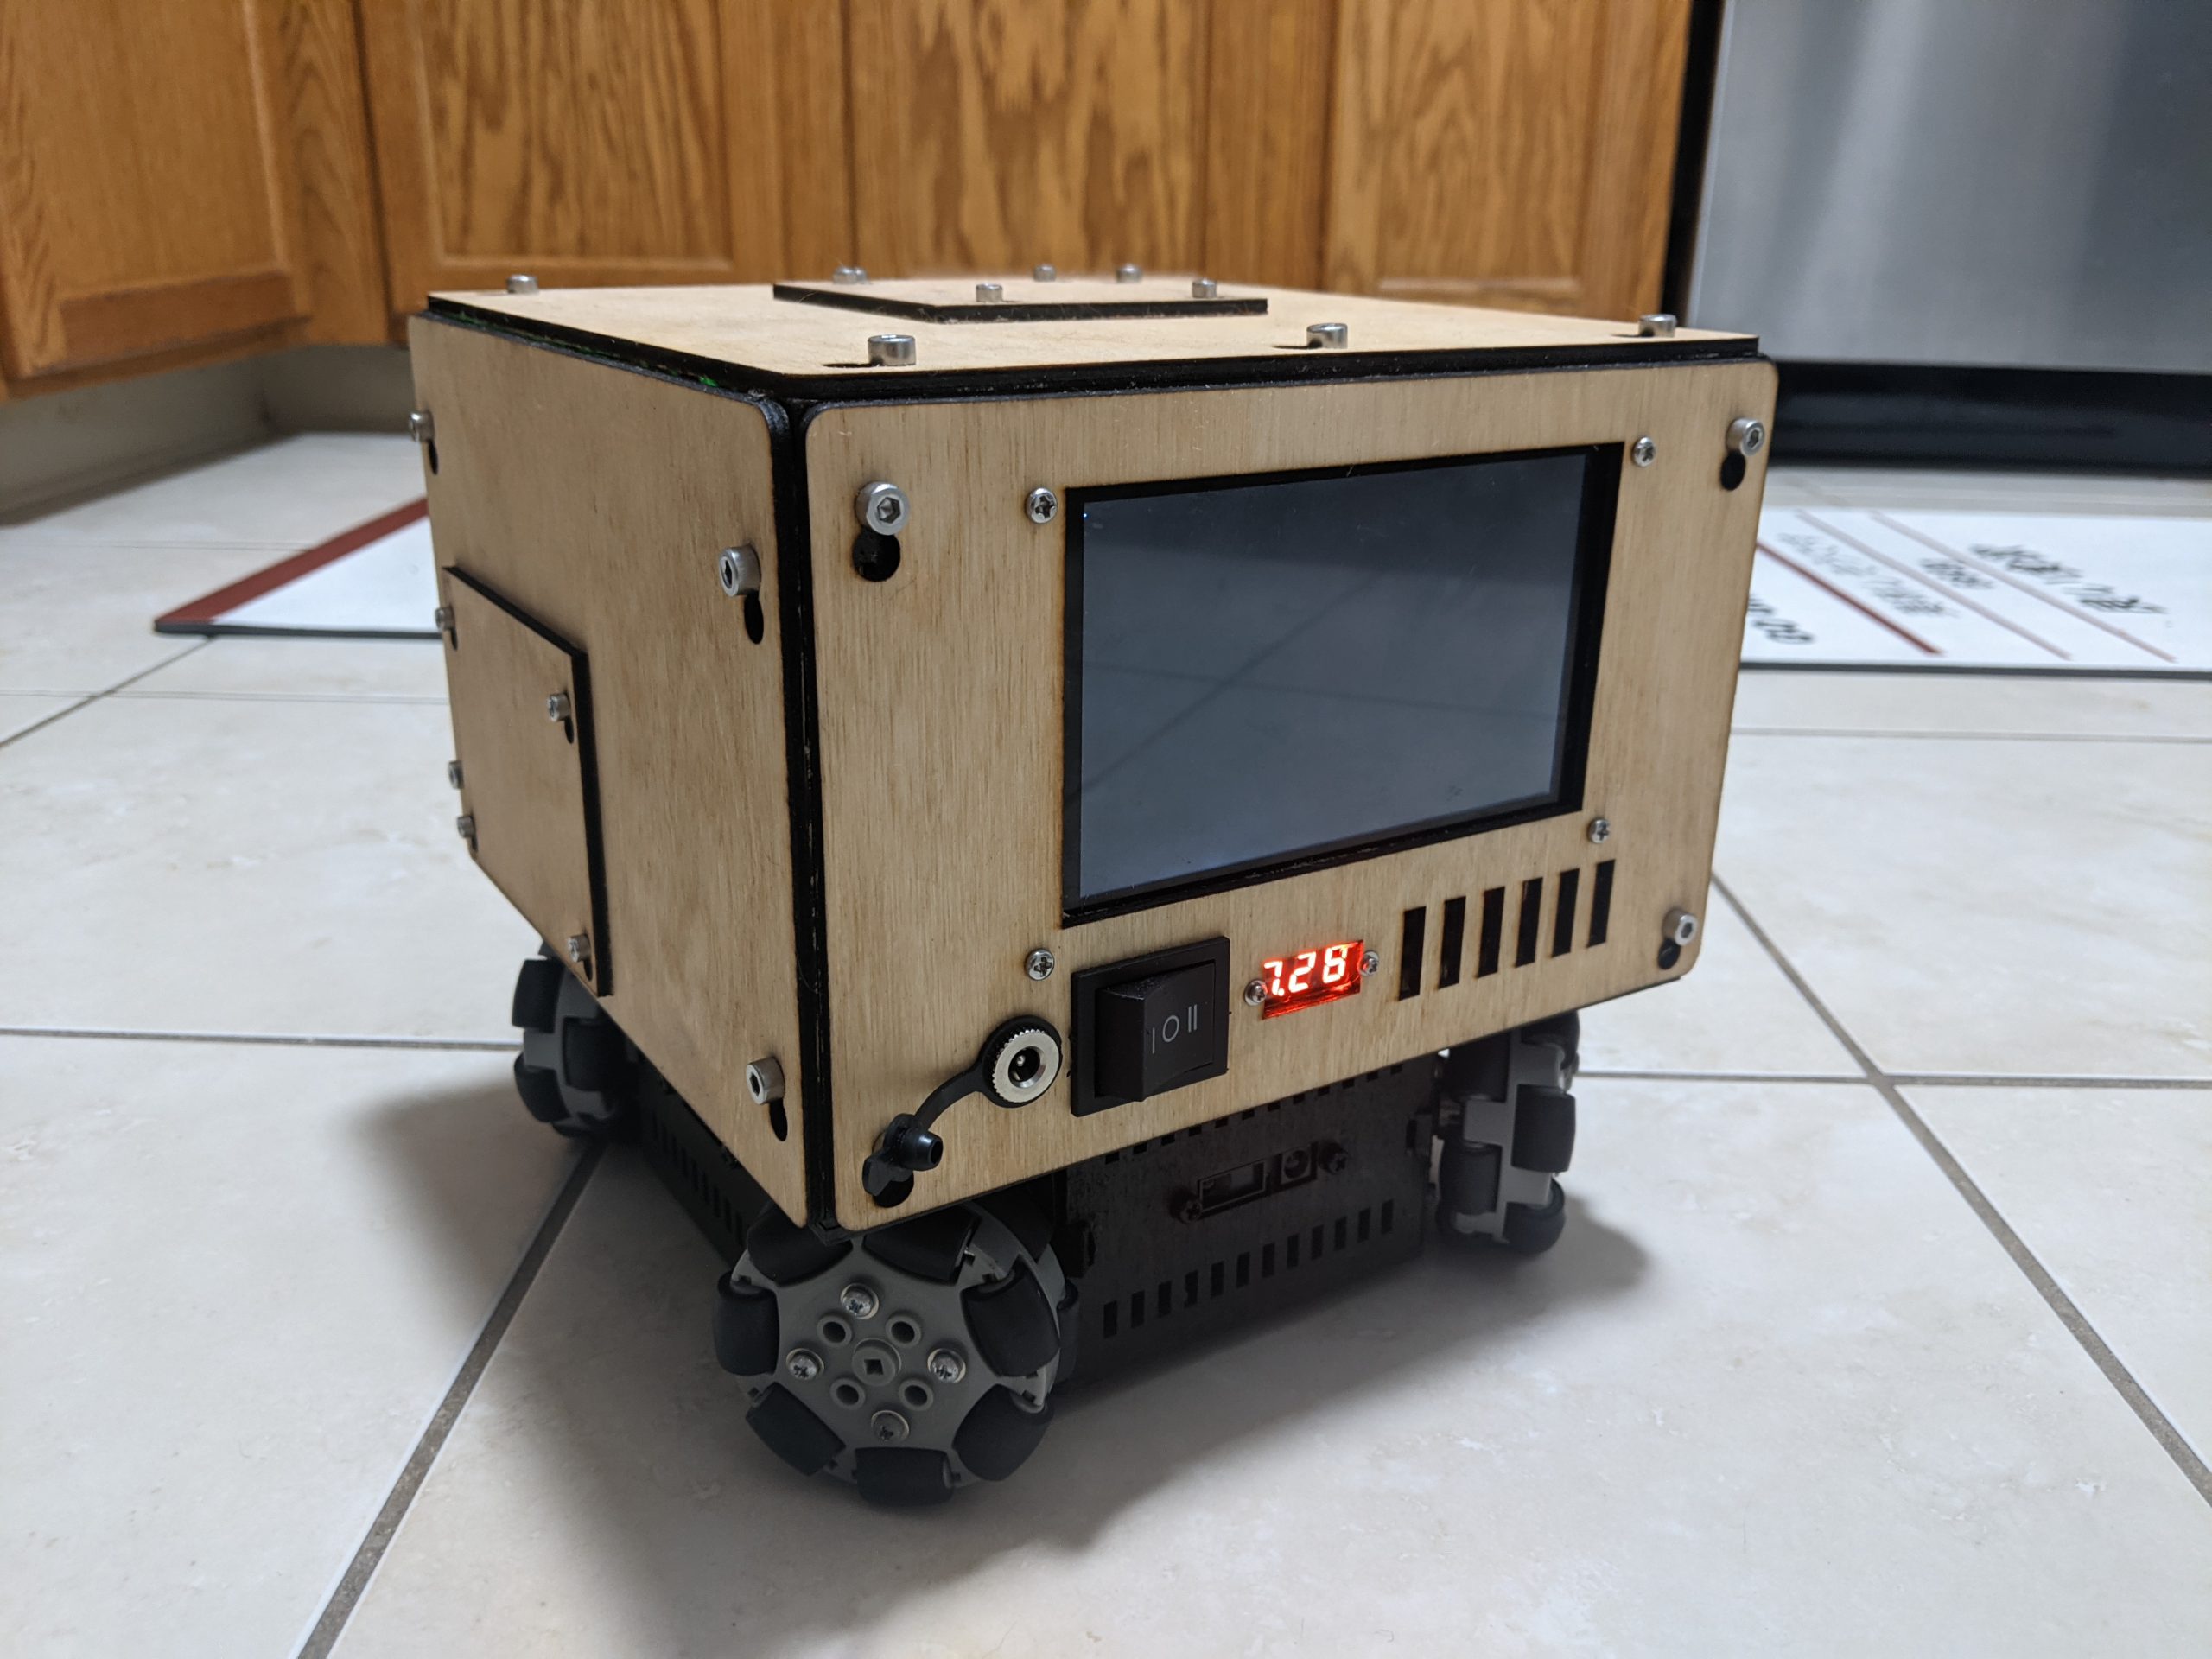
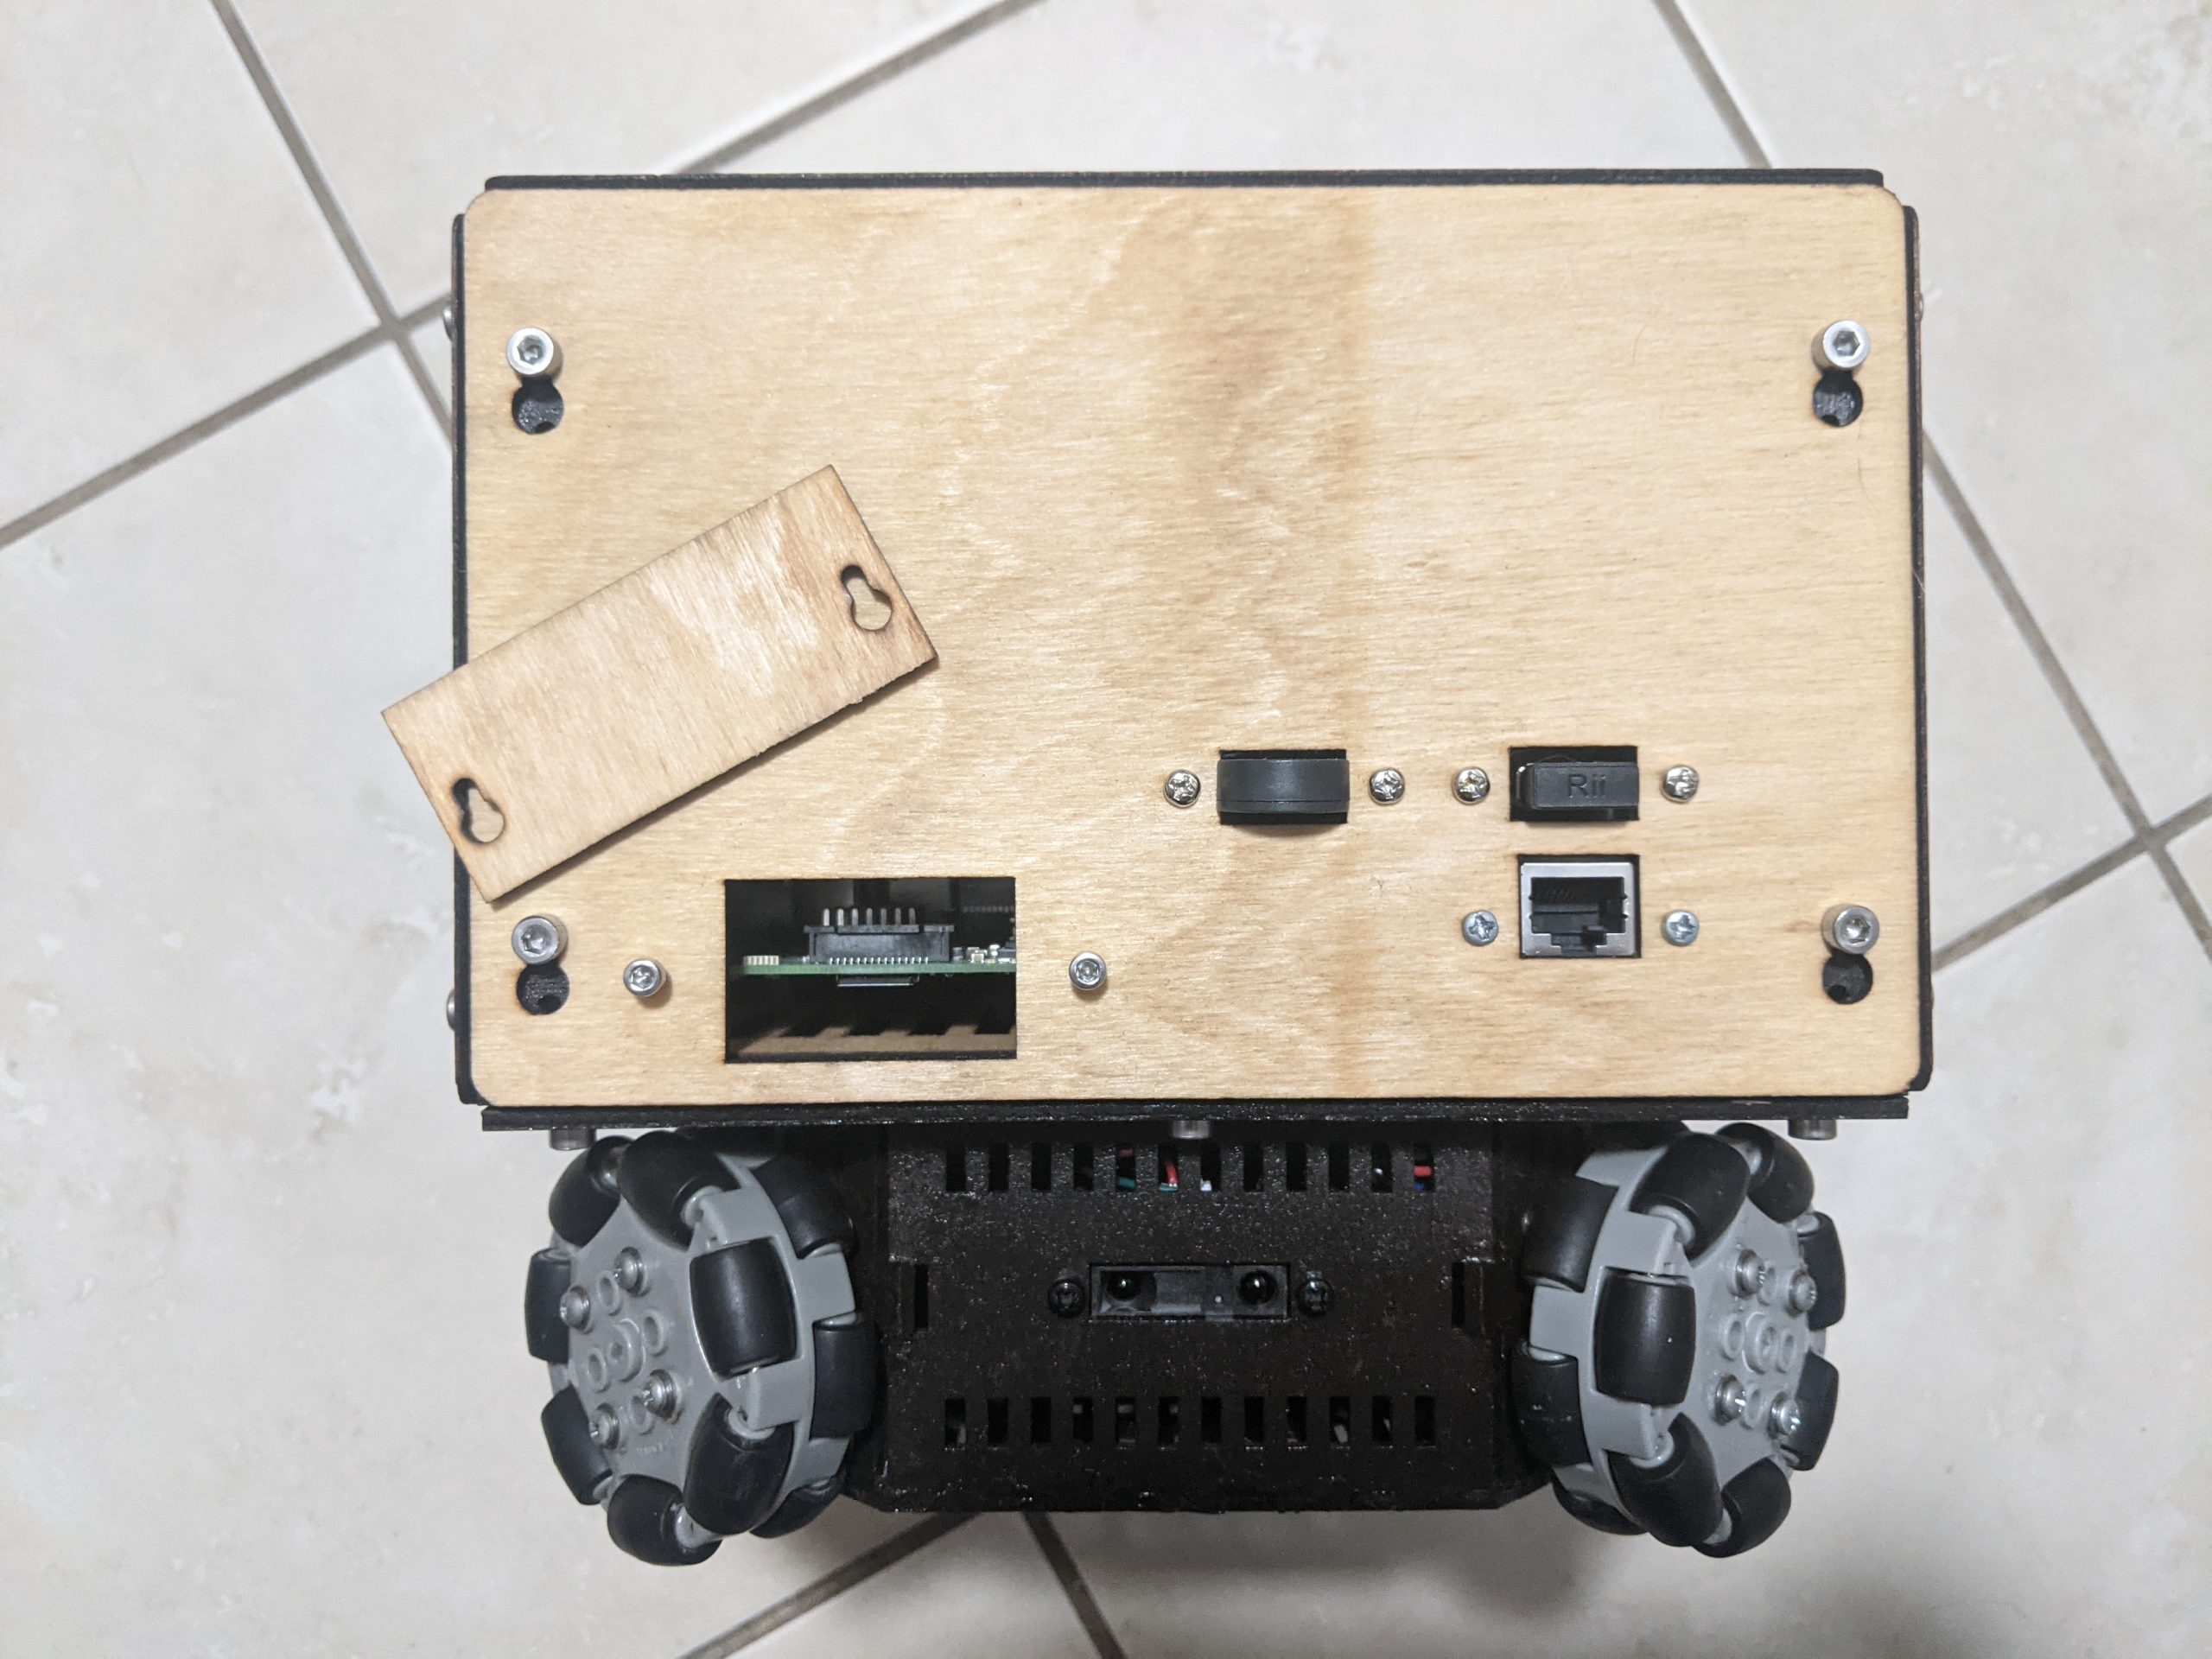
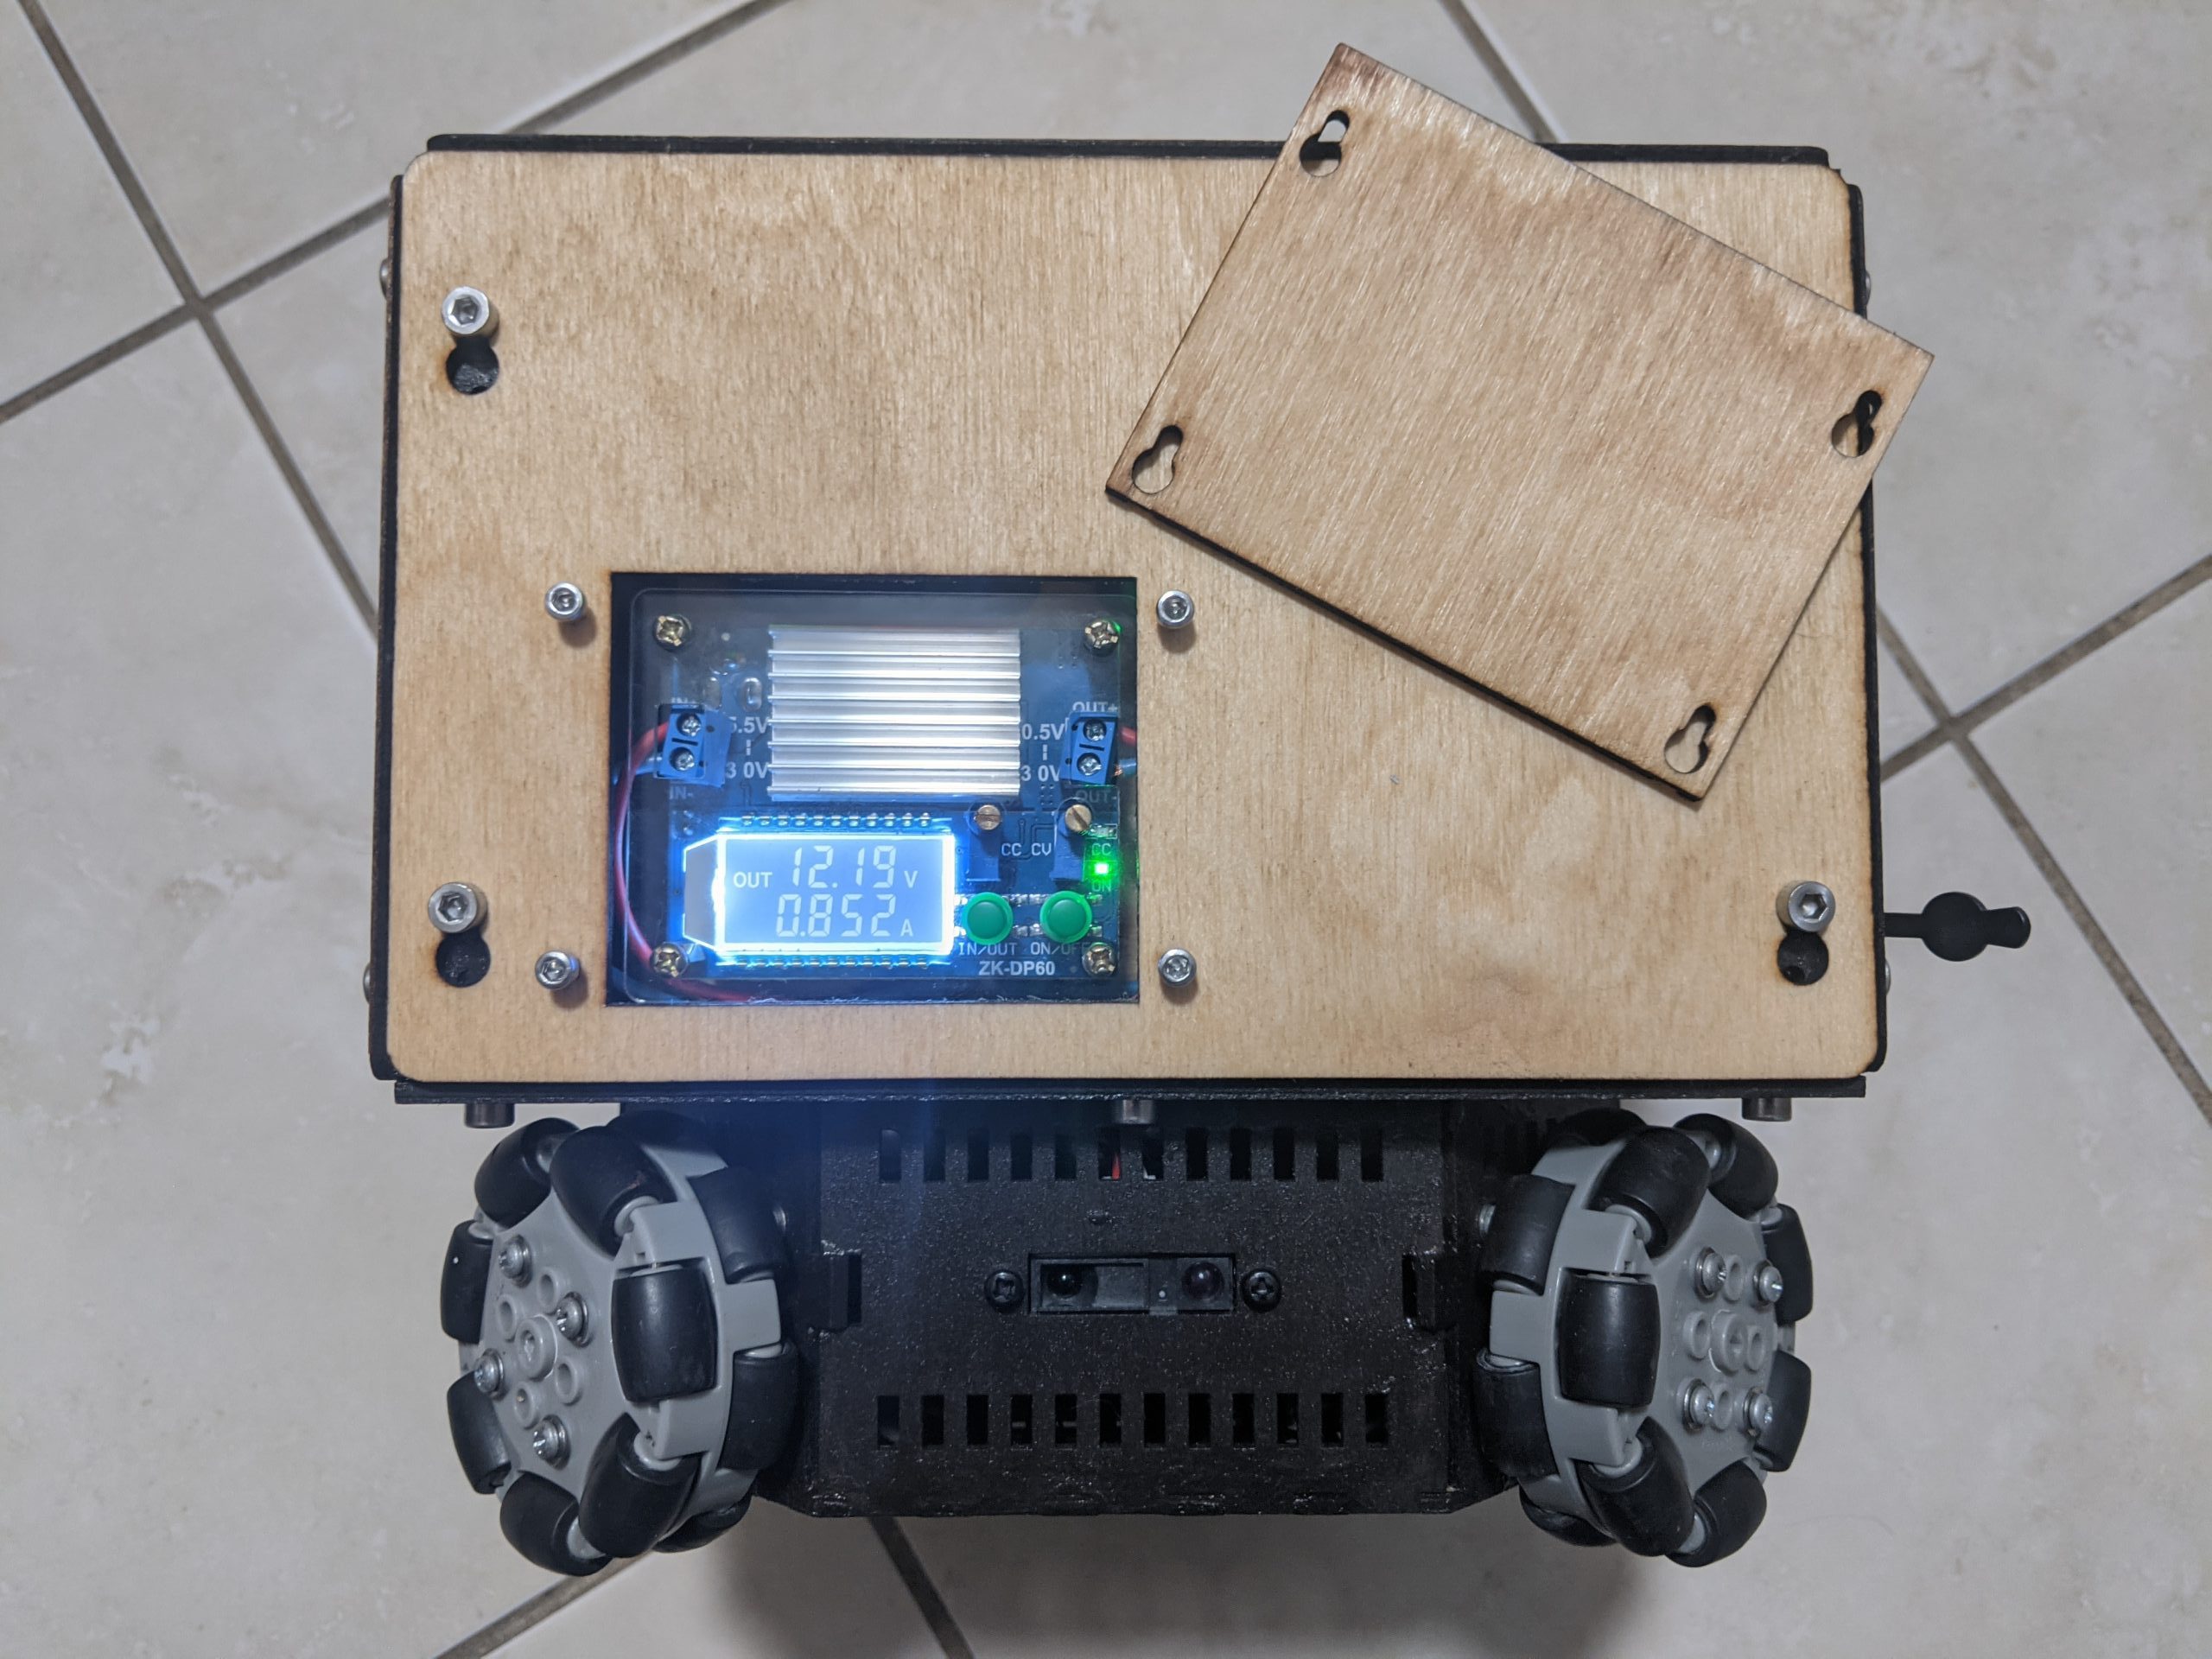
Here are some photos, in the meantime, before the coding and YouTube videos start appearing.

CATPOO 2021 — Unexpected Delays

Murphy’s Law showed up. Back to drawing board I went.

Trouble in Paradise

After initial optimism at things seemingly coming together quickly, I then ran into 3 main problems:

  1. The stepper motors that I had purchased were not powerful enough to move the somewhat heavy robot.
  2. The field of view with the previous camera was too narrow, making avoiding obstacles and tracking objects more difficult.
  3. The Magic Smoke was released from the main power regulator after a momentary short circuit while calibrating the stepper drivers’ current limitations.

V2 Changes

Problems identified, time to solve them with an updated design.

  1. Cosmetic changes
    1. The wood will be stained and treated to look as nice as possible
    2. The “eyes” on the front panel will be fans now instead of speakers
  2. Wheel enclosure
    1. Changed to use more powerful NEMA 17 motors instead of NEMA 14
    2. Added speaker mounts for the new smaller speakers in the front and back. The speaker in the front can be used to make the robot speak, while the speaker in the posterior will be reserved for fart sound effects.
  3. Internal scaffolding
    1. The internal scaffolding now has mounting holes every 10mm to increase options. Down the road, this will give me more flexibility to redesign and upgrade only parts of the robot.
    2. All panels are designed to be easily removed by loosening them, and then sliding them a bit to take them off.
  4. Front panel
    1. Upgraded camera to a wider field of view with smaller IR illuminators
    2. Doubled up on the exhaust fans to avoid high CPU temperatures
  5. Back panel
    1. Power switch, DC In jack, and voltmeter were moved to back of the robot. I found myself spending most of my time going between the screen and the power, so I decided to put them together.
    2. Added more ventilation in back to keep more fresh air moving over the Raspberry Pi
  6. Left panel
    1. Changed the orientation of the power regulators so that they face outwards. This was done to allow the entire left side to be taken off during testing and development.
    2. Added an access panel for only the main regulator. The main buck boost has a lot of useful power information and I’d like the option to quickly access that without removing the entire side panel.
  7. Right panel
    1. Added an extra USB port to allow more peripherals to be attached. It was added mostly to allow me to add a USB microphone, as it would be mostly useless if plugged directly into the Pi while inside the robot. With all the fans and motors in there, I doubt any useful audio could be captured.
    2. Added an access panel to make it easier to swap MicroSD cards